Aligning models on Corners or Grid intersections
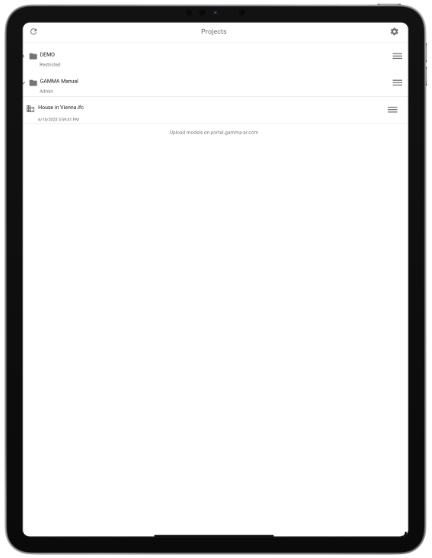
Upon your initial login, you will be presented with a list of projects that include downloadable models. Accurate placement is the foundation when you overlay your BIM model in AR.
1. Select the model you wish to download. Please note that the download process may take some time to complete.
2. Choose the model intended for positioning, typically an architectural or structural model.
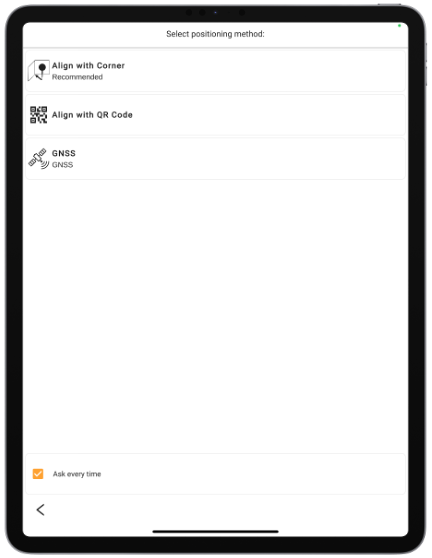
3. Choose Align with Corner.
Choose the floor/level
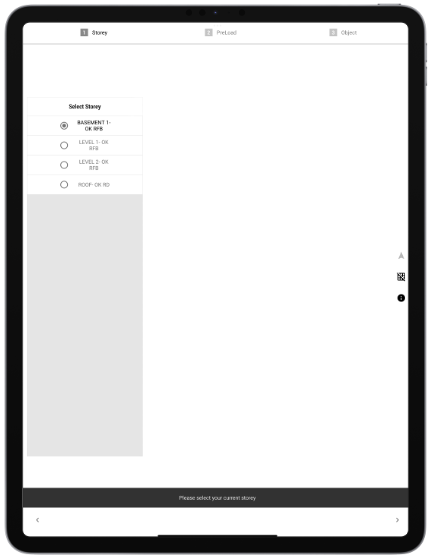
Choose the floor you are located on to proceed. You can change this later if you accidentally chose the wrong level.
Choose Reference object
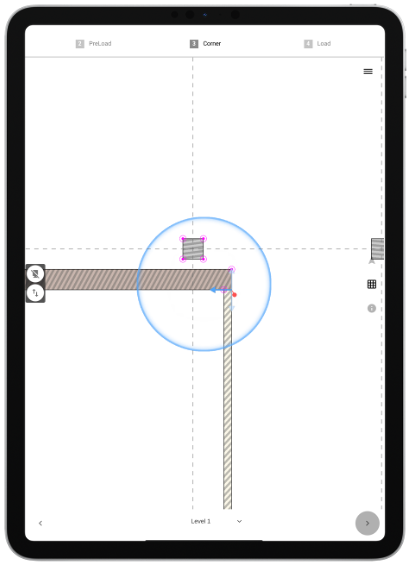
You are presented with a floor plan.
Place the 2 pins
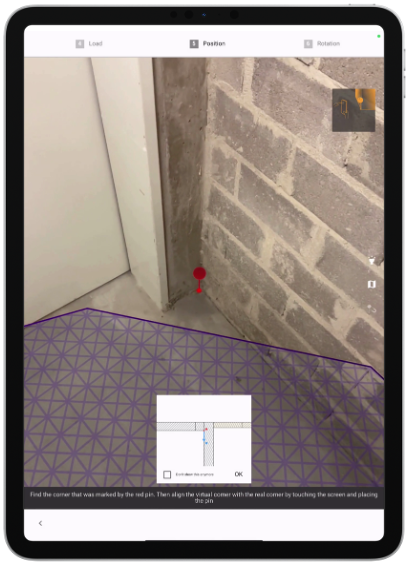
To place the model on site, place the red pin at the corner you selected previously and the blue line in the defined direction.
The line should be between around 2-3 feet or 60-100cm long , to avoid deviation of angles.
After confirming, the model will be placed on site.
Insights
- If you see too many floors in the floor selection, the model might have unnecessarily defined floors as building storeys. (slide 13).
- If you are using Navisworks, GAMMA will omit floors that do not have any slabs and won’t show them in the list.
Make sure you are looking from the correct side to the pins to avoid mixing up the direction in which you are placing the pins. This is especially common with columns but after some practice, this gets better.